Hello, friends! I have been thinking about making tutorials/how-to videos/sculpting videos for a while now. I’m not sure where I’m going to end up on this, but here is where I will start. I’m turning over a new leaf.
I wanted to begin with a mask how-to, but my son looked at me and laughed. He explained that I take my skills for granted and could not expect someone new to polymer clay to be able to follow something that complex all at once. He was right. I mean, I may still do an overview of my mask process soon, but I won’t call it an actual tutorial. That will come later.
For now, let’s begin with a basic leaf. It’s a good place to start.
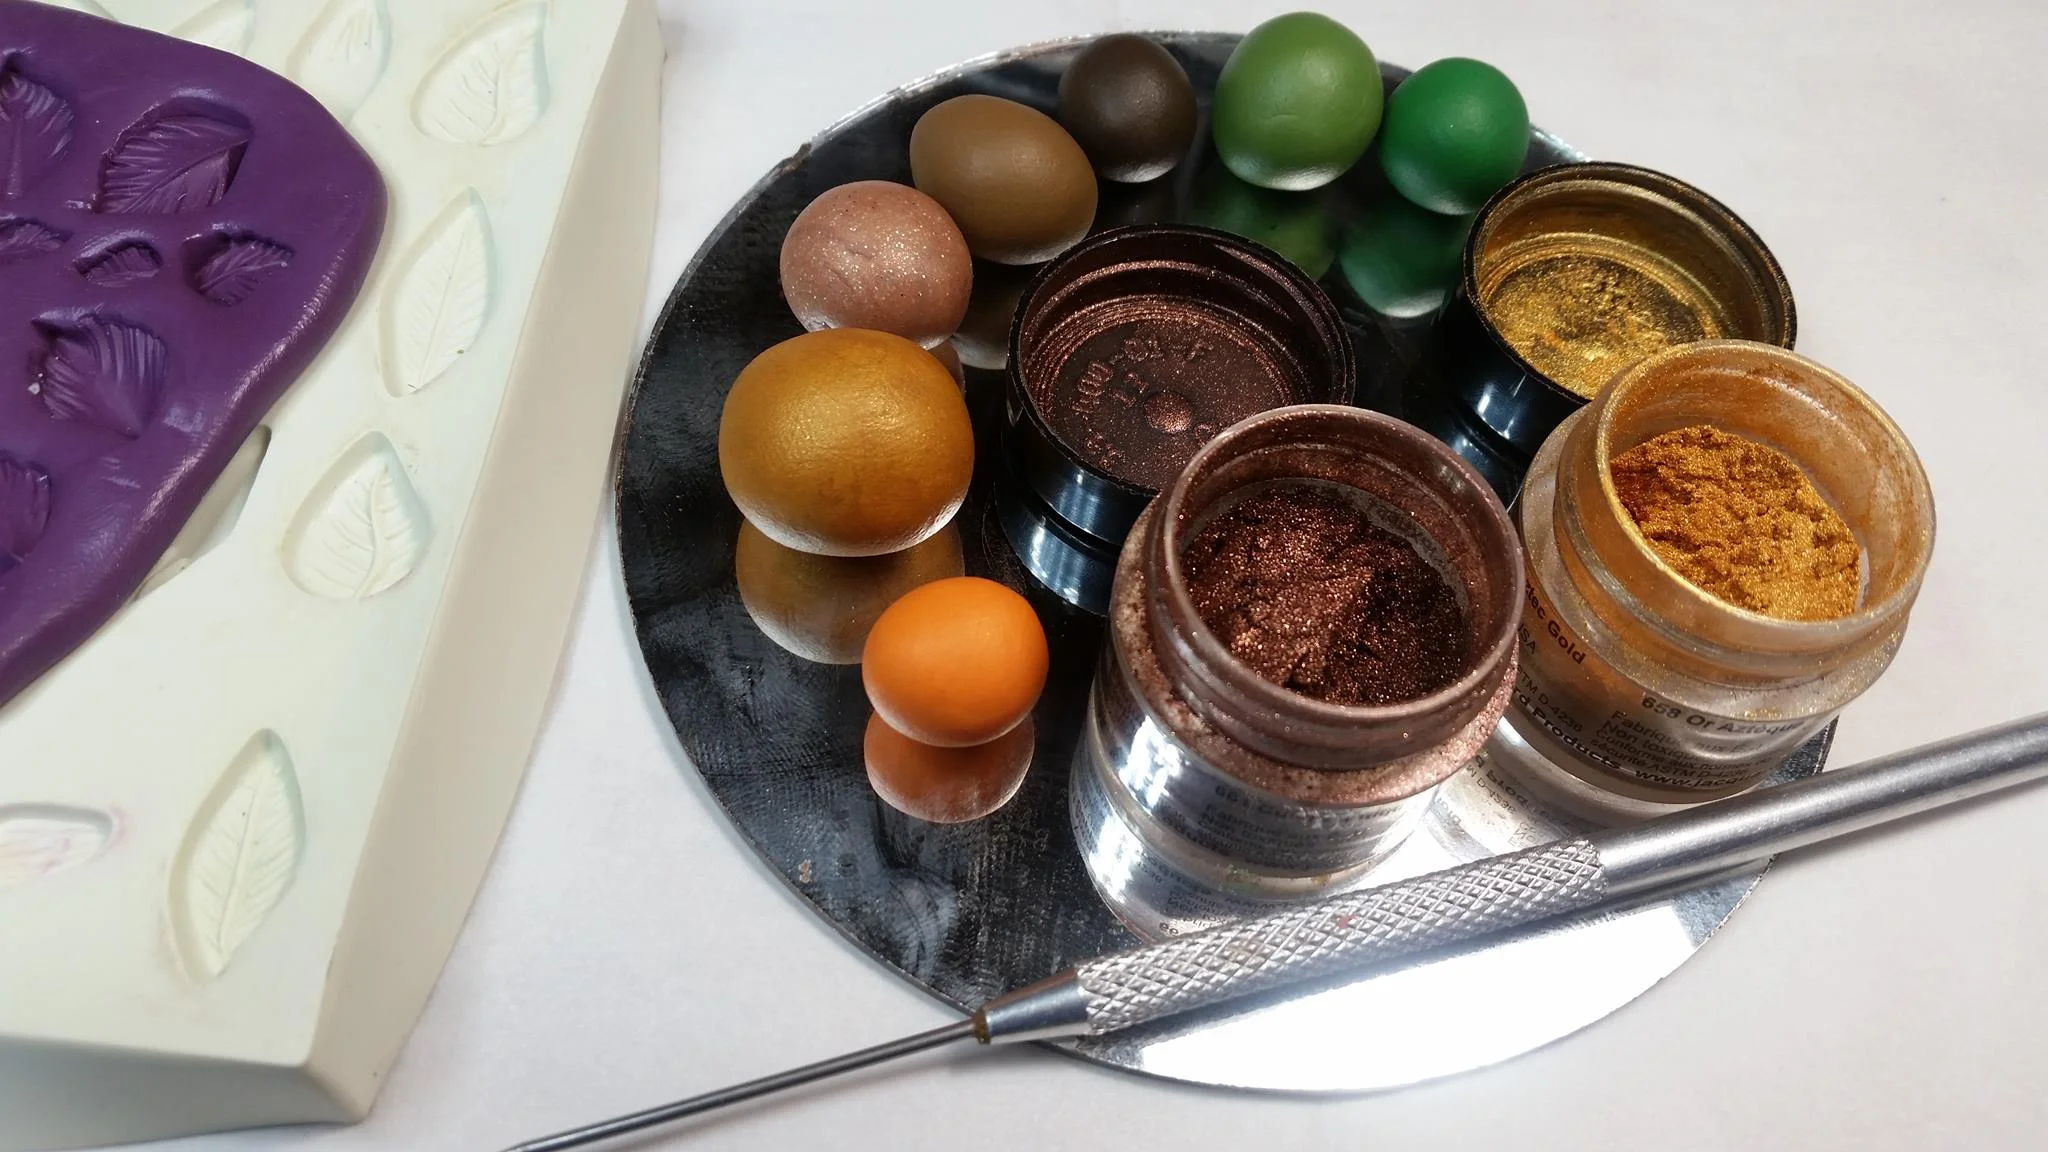
The only materials that you actually need are polymer clay, a non-porous surface, and a needle tool. You may also want to use a tissue blade and mica powders.
For this one, we will be making a simple, spear-shaped leaf that lays flat. This will be our basic leaf, and we’ll talk about variations on that theme in a future tutorial.
Just your basic leaf
Prepare
Have a small ceramic tile or other oven-proof work surface (I use a craft mirror) and a needle tool ready. Choose a small amount of polymer clay (I use Sculpey III) and work it until it is conditioned and pliable. You’re ready to begin.
Portion 1 — In the palm of your hand
Roll the clay into a ball
Roll one end of the ball into a point
Flatten the clay onto a non-porous surface and smooth out fingerprints
At this point, your shape may be uneven and slightly lumpy. That’s absolutely fine. The finished product will look more natural than if it were cookie-cutter perfect. We are looking for an approximation of symmetry, but we don’t want perfect symmetry.
The next steps involve the needle tool. If you don’t have one, you may substitute a toothpick, a tapestry needle, or any other thin, round, sturdy tool. When we apply pressure with the needle tool for this project, it’s straight down and up again. We’re not dragging or turning. For the first line, down the center of the leaf, the pressure is even along the length of it, but we don’t want to make the depression deeper than half of the thickness of the clay. Just mark the center line. If you’re unsure, make it shallow to begin with and come back to it later.
All of the subsequent markings in the leaf should angle down toward the edge of the leaf. This creates a sturdy thickness in the center, with a more life-like thinning at the edge. Don’t cut all the way through, but do come close.
Portion 2 — Using the Needle Tool
Make a line down the center
Divide one half of the leaf with parallel diagonal lines
Do the same on the other half, but offset them
Further divide each segment, starting with a corner-to-corner line
Keep dividing into smaller segments until the needle tool would be too large to make a clean line
At this point, you could bake your leaf or add it to a larger project. In future tutorials, I’ll show you how to use them on masks, earrings, and other projects. For a more finished and realistic look, you could make a thin rope of a darker color and lay it down the center of the leaf. If it’s going onto a sculpture, I highly recommend pinching the end gently and twisting and pulling it into a more lifelike position. For the purposes of this tutorial, I’m just going to add some mica powders and bake it as it is.
Portion 3 — Adding Mica Powders
With your finger, dab a small portion of the mica powder from the lid of the container
With a very light touch, rub the mica powder onto the highlights of the leaf
For extra depth, add another color
After adding mica powders and shaping however you’d like, bake according to the manufacturer’s instructions and allow to cool.
There you have it! A new leaf.
Typically, I make several at once. I work them along the outer edge of my mirror and rotate it in my non-dominant hand to help me get the best angle. If you need them to be flat, you can bake them right onto your non-porous work surface, such as oven-safe glass or tile. Otherwise, just lift with a tissue blade (or spatula-esque tool of choice) whenever you’re satisfied with the finished product.
Now, I’d like to note that you can buy or make molds, and it’s worth considering whether your project is better served by one of these methods. I know that my leaves are time consuming to make, but I’m just never happy with the ones out of molds, as they don’t fit my personal aesthetic. You may find that they fit in perfectly with a project that you plan to make and that it’s not worth the time to use my methods. It’s a good idea to try a few varieties to see what works best for you.
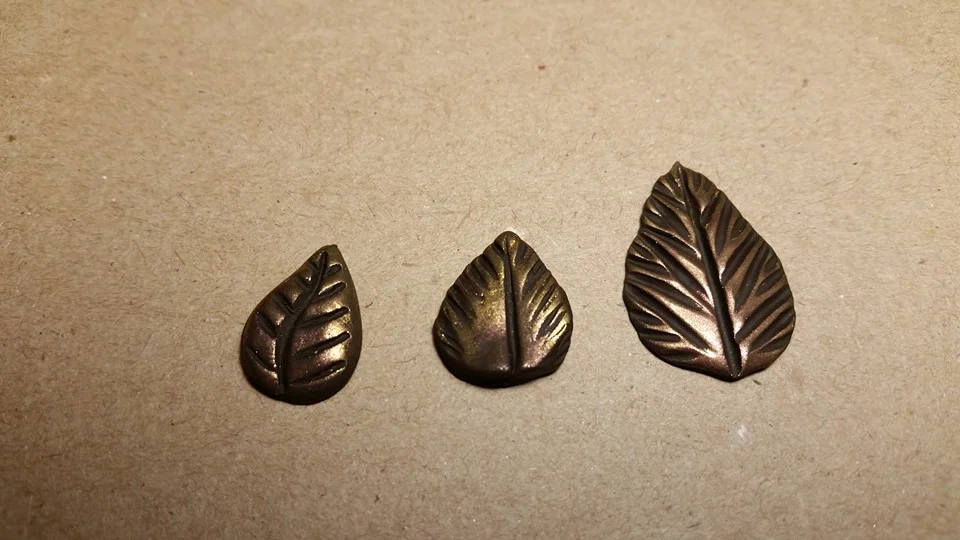
From left to right, these are from a store-bought mold, from a homemade mold, and an individually sculpted leaf.
I have also been happy with leaves that have more or less parallel lines coming from the center line. They look fairly natural at a distance and are a little faster to mass produce if you’re making a large project. I prefer the method described in this tutorial when I want a more fractal look.
Most of the leaves in this mask began the same way as the leaf in this tutorial
I used this method for all of her leaves, shifting shades of mica powders as I built from bottom to top.


